Last updated: November 14, 2026
Quick Answer: install kayak gear tracks on a fishing kayak in 5 steps—plan the layout, drill, seal, back the hardware, and cure the sealant. Kayak gear tracks are easiest to install when you know exactly where they should sit, how to seal the holes, and how to back the bolts. In short: drill once, seal every hole, and support the underside with washers or backing plates. The steps below settle placement, sealing, and leak prevention.
Key Takeaways
- Gather the parts and inspect the hull first so the install stays accurate.
- Put kayak gear tracks on a flat, reachable deck area with no shoulder strain.
- Drill cleanly by centering the bit, using light pressure, and supporting the hull.
- Seal each hole and the fastener head before tightening the hardware.
What you need before you drill
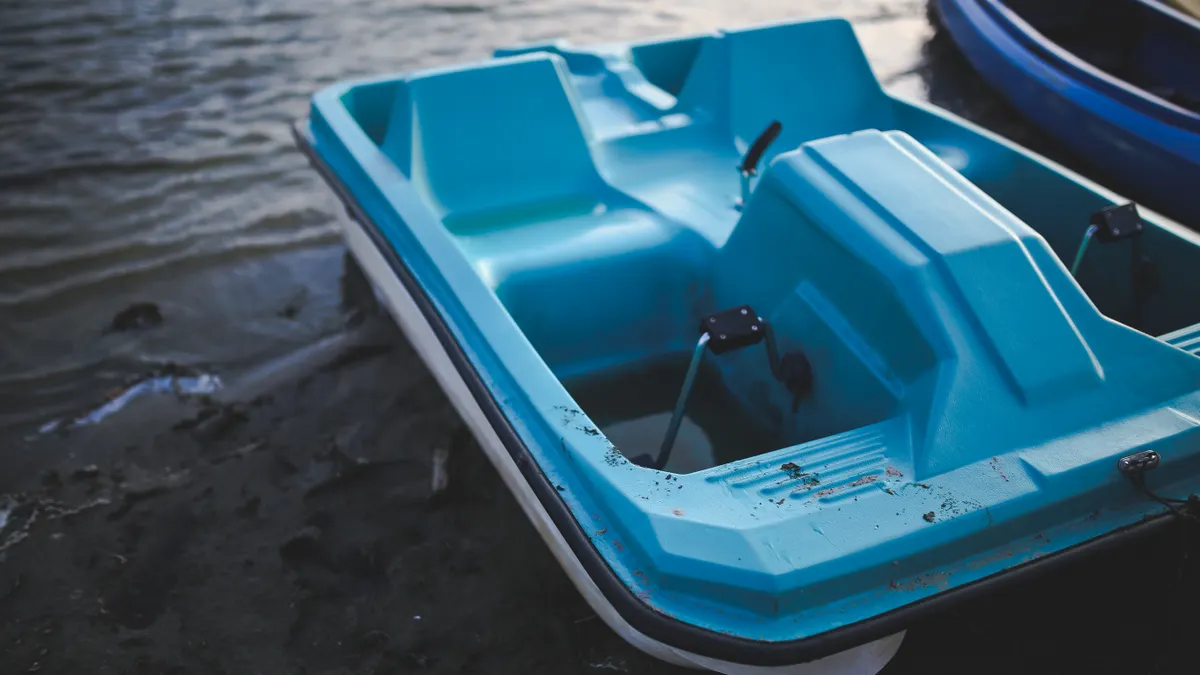
Picture this: you’re sitting beside the kayak with a template, a drill, and a handful of stainless hardware, trying to avoid a hole that ends up under your knee or into a hull brace. The install goes better when you gather the parts first and check the inside of the hull before a single mark goes down.
You need a drill, a matching bit for your hardware, marine sealant, stainless hardware, backing washers or a backing plate, painter’s tape, a marker, and a template or the track itself for layout. If your kayak has thick scupper ribs, molded channels, or foam blocks inside, those details change the bolt path.
Skip the drill first mindset.
- Use stainless fasteners that match the track slots and the kayak thickness.
- Use marine sealant on each hole, not just under the track base.
- Use backing washers if the inside access is good and the area is flat.
- Use a backing plate if the hull flexes or the load will be heavy.
A lot of bad installs start with the same mistake: the builder places the track where it looks centered, then finds out the underside is curved or blocked. The truth is, the inside of the hull decides a lot of the layout.
For a wider setup plan, this page fits into the larger kayak setup and mounting systems guide on kayakfishingaccessories.net. That hub covers the bigger picture; this one stays on the install itself.
Where should kayak gear tracks go?
Kayak gear tracks should go on a flat, reachable section of deck where your hand can reach the mounted accessory without twisting your shoulder. The best placement is usually on a clean, level area with enough edge distance that the fasteners do not land in a weak curve or molded ridge.
Picture this: you’re holding a rod holder, a camera arm, or a paddle clip over the deck and checking whether the mount clears your knees and lap. That test matters more than the label on the accessory, because a track in the wrong spot is still the wrong spot.
Use a template or the track itself and mark the centerline with painter’s tape. Then check three things before drilling: reach, underside clearance, and edge distance. If the inside of the hull has a rib or liner, move the track rather than forcing the bolts through it.
- Tape the deck and mark the track outline with a marker.
- Measure from the seat and edge so the accessory stays reachable.
- Inspect the inside of the hull for braces, foam, or wiring.
- Shift the layout if a bolt hole lands on a curve or obstruction.
- Confirm the track will not interfere with handles, hatches, or pedal systems.
On a fishing kayak, the common mistake is pushing the track too far forward because it “looks right” from the outside. That can make the accessory awkward to reach while you’re seated. A 2-inch shift often changes the whole setup.
How do you drill the holes without cracking the hull?
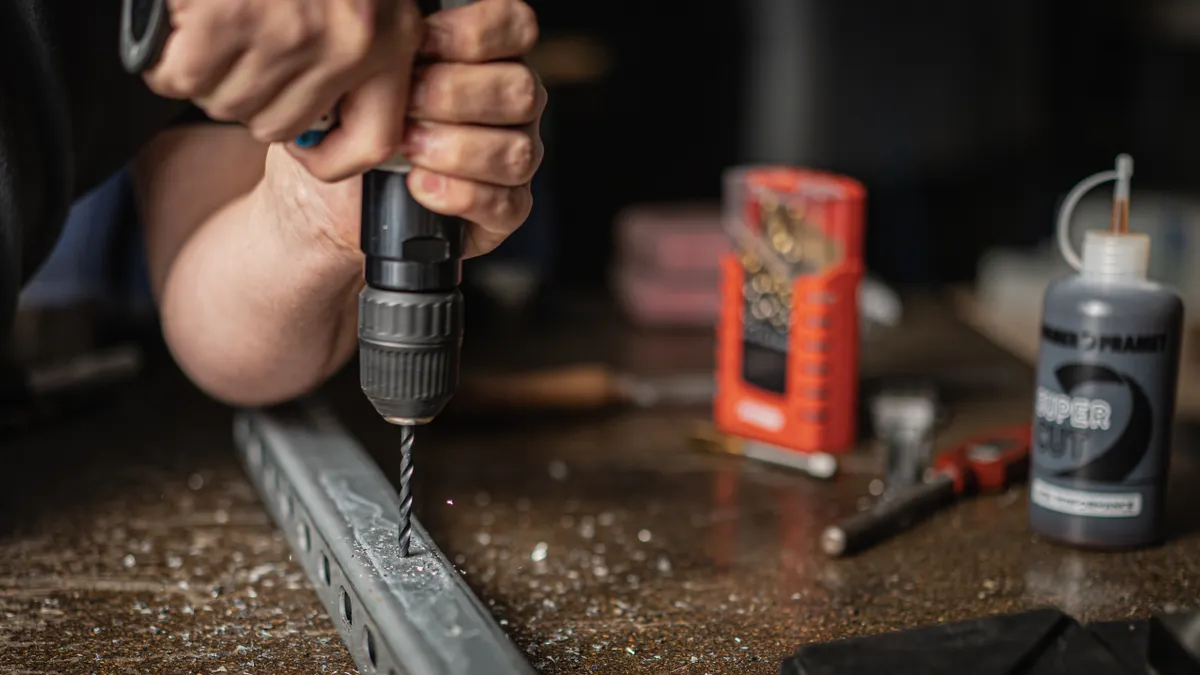
You drill the holes cleanly by centering the bit, using light pressure, and backing the area so the hull does not flex or spider crack. Start with a pilot hole if the hardware size calls for it, then open to the final diameter in one steady pass.
Picture this: you’ve already marked the spots, and now the drill is in your hand. The goal is not speed. The goal is a round hole that matches the bolt and doesn’t chew up the plastic or fiberglass around it.
Put painter’s tape over each mark, then drill through the tape to help reduce bit wander. Keep the drill square to the deck so the bolt seats clean. If the hull is thin, hold a block of wood or a flat backing piece under the work area if you can reach it from inside.
- Center the bit on each mark before pulling the trigger.
- Drill at a slow speed with steady pressure.
- Stop as soon as the bit breaks through.
- Clear any chips so the sealant can sit flat later.
- Test-fit the bolts before moving on.
A common mistake is leaning the drill to “follow” the deck curve. That makes the hole oval and weakens the seal. Straight holes are easier to seal, easier to tighten, and less likely to leak later. For related fit and rigging tips, see the kayak fishing setup guide.
How do you seal kayak gear tracks so they don’t leak?
You seal kayak gear tracks by putting marine sealant in each hole and under the fastener head before tightening anything down. The sealant is the water barrier; the washer and nut are only the clamp.
Picture this: the track is lined up, the bolts are ready, and you’re about to cinch everything down. This is the step that decides whether the install stays dry after a launch, wash-down, or rainstorm.
Use a marine sealant made for boats, not household caulk. Put a small bead around each drilled hole and a thin layer under the track where it meets the deck. Then push the bolt through the track, through the hole, and into the washer or backing plate inside the hull.
- Apply marine sealant around each hole.
- Coat the underside of the track base lightly.
- Insert the stainless bolt through the track and deck.
- Add the washer or backing plate inside the hull.
- Tighten the nut until the sealant squeezes out slightly.
Do not crank the nut hard enough to squeeze all the sealant out. That leaves a thin, dry joint that can fail. A small squeeze-out bead is what you want, because it shows the joint is full without crushing the deck.
For sealants and fastener habits, the deck hardware guidance from marine hardware makers such as Blue Sea Systems and West System follows the same basic rule: keep water out of the hole, not just off the surface. Their technical guidance is worth reading before you choose the exact product for your hull material.
What backing hardware should you use inside the hull?
You should use backing washers for light loads and a backing plate for heavier loads or thin, flexible decks. The underside support spreads the clamp force so the bolt does not pull through the hull when the kayak bounces or the mounted gear gets tugged.
Picture this: you reach inside the hull and see a smooth, curved surface with room for hardware. That’s where backing support earns its keep. Without it, the bolt head can dig into the plastic and create a stress point.
A stainless washer is the simple option. A backing plate is the stronger option, especially if the track will hold something that gets pulled, twisted, or bumped often. If access is poor, plan the install around that before you drill, because a good seal is hard to make with a bolt you cannot reach.
- Use washers when the hull is thick and the accessory is light.
- Use a backing plate when the deck flexes or the load is higher.
- Avoid bare nuts pressing straight against soft plastic.
- Check access before choosing the bolt length.
The trade-off is simple. Washers are easier, but they spread load less. Backing plates take more time, but they give the hardware a larger footprint. A lot of folks skip the plate and regret it after the first hard pull on the mounted gear.
Tightening, cleanup, and leak check
You finish the install by tightening the hardware evenly, cleaning the squeeze-out, and checking the mount for movement after the sealant cures. That last check tells you whether the joint is sealed and whether the hardware is biting correctly.
Picture this: the track is in place, the sealant has set enough to hold, and you’re wiping the deck with a rag. This is the part most people rush. Don’t. A sloppy finish hides problems, and a hidden problem becomes a leak.
Wipe away excess sealant before it skins over, then leave the kayak alone until the sealant cures per the product label. After that, press on the track, tug lightly on the mounted piece, and inspect the inside of the hull for damp spots. A dry paper towel under the bolts makes leaks easy to spot. If anything still feels loose or wet, consult a professional boat repair source or the sealant maker before loading the track.
- Snug the nuts evenly, alternating sides if the track has multiple fasteners.
- Wipe excess sealant from the deck and inside.
- Let the sealant cure fully before loading the track.
- Inspect for movement by hand after curing.
- Test for leaks with a light hose rinse or by checking after the first launch.
Do not over-tighten “just to be safe.” That can bow the track, crush the sealant, and distort the deck. Tight enough to hold, not so tight that the plastic deforms. Big mistake.
What are the most common mistakes with kayak track installation?
The most common mistakes are poor placement, unsealed holes, weak backing, and over-tightening. Each one costs you something different: comfort, dryness, strength, or hull life.
Picture this: you’ve finished the install, but the accessory sits too far back, one bolt leaks, and the track flexes when you load it. That’s the usual chain reaction from one rushed step.
Here’s the catch: the install can look fine from above and still be wrong underneath. The deck hides a lot, which is why the underside check matters as much as the top-side layout.
- Wrong placement costs reach and comfort.
- Dry holes cost you leak protection.
- No backing support costs strength.
- Over-tightening costs the shape of the hull.
- Skipping a template costs accuracy.
If you want one rule that saves the most trouble, use this: mark twice, drill once, seal every hole, and support the underside. That simple order keeps the job clean and repairable.
How do you know the install is worth the effort?
A proper kayak gear track install is worth the effort when the accessory sits where you can reach it, the deck stays dry, and the mount does not flex under normal use. That is the standard a fishing kayak should meet before you call the job done.
Picture this: you’re back on the water and the mounted gear stays put while you paddle, cast, or reposition. That is the payoff for careful layout and sealing. The best installs blend into the kayak. You stop thinking about the hardware and start using it.
This job is not for someone who wants to drill fast and fix problems later. It is also not ideal if the inside of the hull is blocked so badly that you cannot reach the backing hardware. In that case, a different mounting spot is the safer choice.
If the mount is secure, the sealant is intact, and the placement feels natural from the seat, the install is done. If any of those three are off, fix them before the first long day on the water. If you want a broader setup path, the kayak mounting systems page covers other options.
Where to place kayak gear tracks?
Place kayak gear tracks on a flat section of deck that you can reach from the seat without twisting hard. The spot should also leave room underneath for washers or a backing plate, and it should avoid ribs, wiring, and hatch hardware.
Check the inside before drilling. A 1-inch shift can be the difference between a clean install and a bolt that lands on a brace.
Do kayak tracks leak?
Kayak tracks can leak if the holes are not sealed or if the hardware is overtightened and distorts the seal. A marine sealant around each hole and under the fastener head is the main defense.
Leaks usually show up where the bolt passes through the deck, not along the top of the track. After the first rinse or launch, check the underside for damp spots.
What hardware do I need for track installation?
You need stainless bolts, matching nuts, backing washers or a backing plate, and marine sealant. You also need a drill, the right bit size, painter’s tape, and a template or the track itself for layout.
Choose hardware long enough to pass through the track and deck with room for the washer and nut. Short hardware is a bad fit because it leaves too little thread to secure properly.
Drafted with AI; not yet reviewed by a person.