Last updated: November 14, 2026
Quick answer: use three measured points, and keep the layout within about 1–2 hours of careful setup, because that is how you install a fish finder on a kayak without drilling twice. If you lock the screen spot, transducer path, and battery box location first, the rest of the job is layout, fasteners, and a little marine sealant. The steps below settle the order, the cable route, and the places where people usually get forced into a redo.
Key Takeaways
- Plan the layout first so the screen, transducer, and battery all follow one route.
- Put the display where your hand reaches it in one move.
- Run the transducer cable on the shortest protected path to avoid a second hole.
- Place the battery box where the lead reaches naturally and the box stays dry enough to inspect.
What should be planned before the first hole?
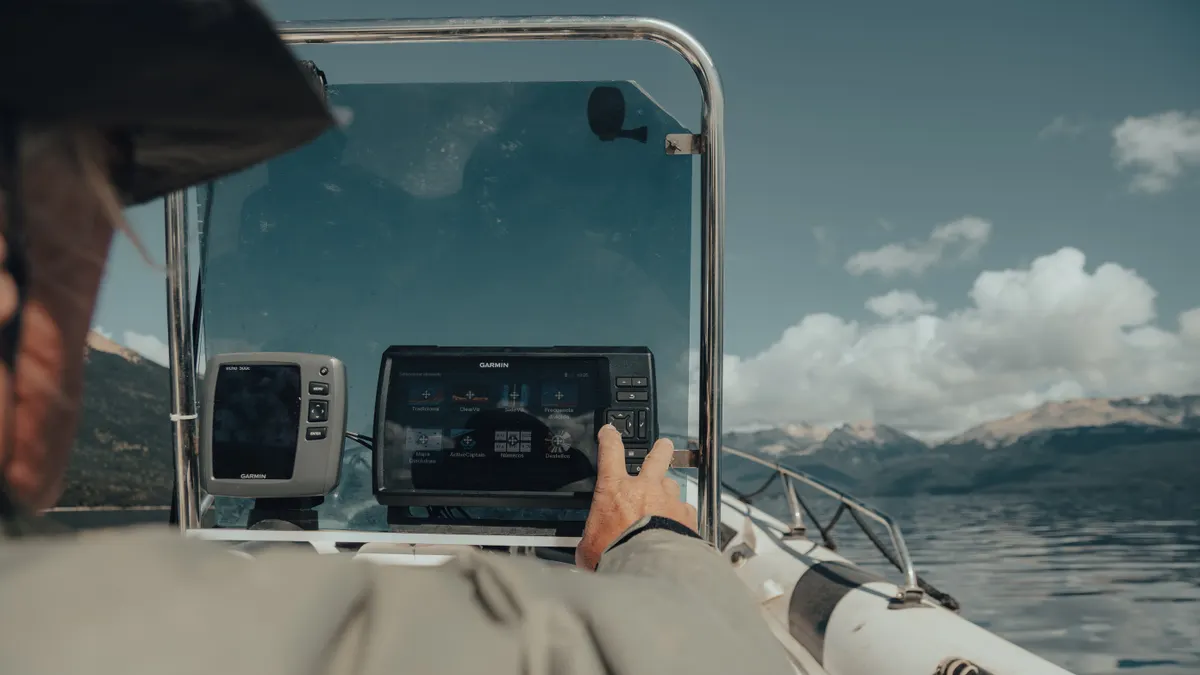
Plan the whole layout first, because a kayak fish finder installation only stays clean when the screen, transducer, and battery all agree on one route. A small mistake here turns into a second round of holes, longer cable runs, or a battery box that sits in the wrong hatch.
Picture this: you’re kneeling beside the kayak with the fish finder in one hand and a drill in the other, trying to guess where the screen should sit. Stop there. Measure the cockpit, the reach to your paddle stroke, and the path the transducer cable will take before you mark anything.
- Tape the display in place first.
- Lay the transducer cable where it will actually run.
- Set the battery box where it will not crush the hatch opening.
- Check that the cable can reach without a tight bend.
- Mark holes only after those three points line up.
The layout usually works best when the screen sits high enough to read and low enough that your paddle or PFD won’t smash it. If you have a small deck, that may mean the left side for one kayak and the right side for another. A better choice is the side that leaves the cleanest cable line and the safest reach for your hand.
One practical rule helps: if you cannot explain the route in one sentence, you do not have the layout yet. That is where most double-drill jobs start.
How do you place the screen without making a second set of holes?
Mount the display where your hand reaches it in one move, because the wrong screen spot is the most common reason for drilling twice. A good location gives you a clear view, keeps the unit out of your paddle arc, and leaves space for the power lead and transducer plug.
Picture this: you’re seated in the kayak, paddle across your lap, and trying to glance down at the sonar screen without twisting your shoulders. That view matters more than symmetry. The display should face you at a natural angle, not force your neck to work for every depth reading.
- Tape the mount base or bracket in the intended spot and sit in the kayak.
- Hold the display at arm’s reach and check if the cord can turn without strain.
- Mark the holes only after the paddle swing clears the unit by a comfortable margin.
- Drill once, using the smallest bit that fits the fastener you picked.
- Seal each hole with marine sealant before the screw goes in.
A display mount that looks neat on a garage floor can be miserable on the water. The mistake is not just comfort. It also affects cable routing, because a screen shifted an inch or two can change where the power wire exits and whether the cable has to cross open deck space.
If your kayak has a tight cockpit, keep the screen near the seat and not far forward on the bow. Longer reaches invite snagged cords and awkward head turns. On many setups, the screen position should be decided before the transducer mount, not after it.
How should you route the transducer cable the first time?
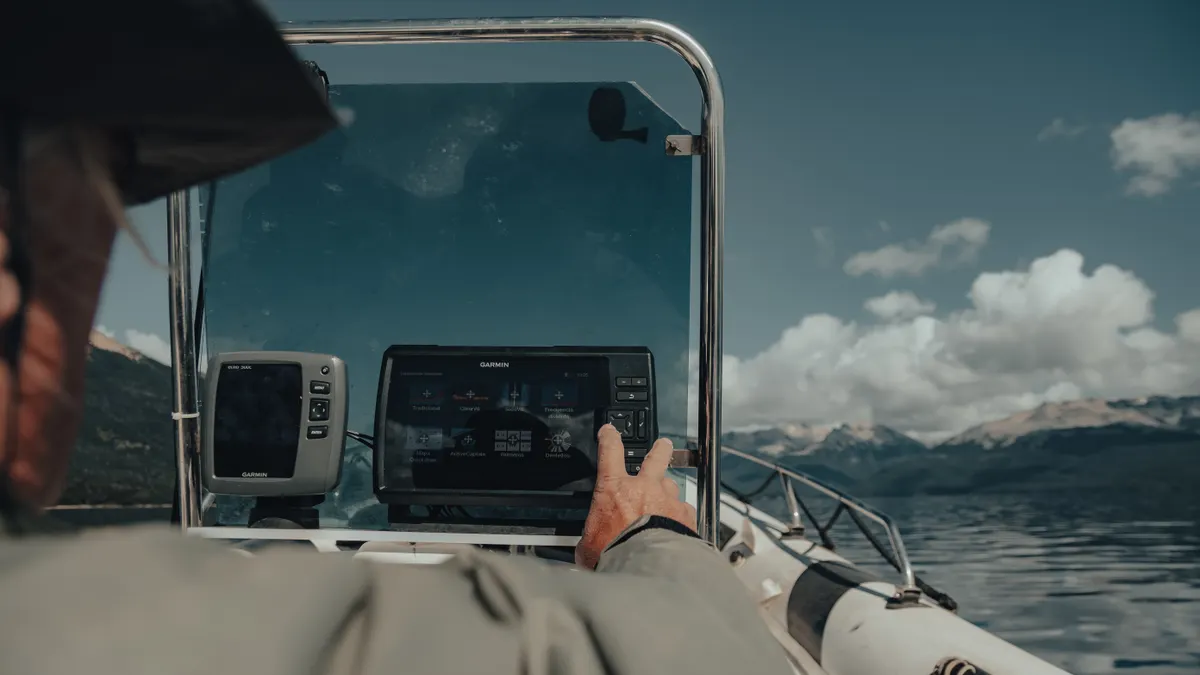
Route the transducer cable along the shortest protected path, because cable slack and sharp bends cause most second-hole problems. The goal is a clean line from the transducer to the display that does not cross foot pegs, hatches, or the paddle sweep.
Picture this: you’ve mounted the screen, but now the transducer lead has to snake across the kayak like an afterthought. That is the moment when people drill a new exit point or move the display. A better plan is to map the cable path with painter’s tape before any fastener goes in.
The route should avoid pinch points. Leave a little slack near any spot that flexes, but not so much that the line dangles where a heel or tackle box can catch it. Use cable ties to hold the wire in place at regular intervals, and keep the run close to the hull or deck edge.
- Follow the edge of the deck when possible.
- Keep the cable away from the paddle arc.
- Avoid tight loops near the connector.
- Leave service slack at both ends.
- Secure the wire before trimming excess tie tails. If you are unsure, consult a marine technician and follow the cable-tie guidance in NMEA 2000 installation practices.
The truth is, many kayak fish finder installation mistakes happen because the cable is treated like an afterthought. It isn’t. It decides where the battery sits, where the display can land, and whether you can still remove the seat or hatch cover without unplugging half the rig. If the cable routing feels crowded, consult a professional installer and check the fish finder manual before cutting or tying anything off; the U.S. Coast Guard boating safety guidance also stresses secure, uncluttered deck gear.
If the transducer cable is too short for your planned route, do not “make it work” by shifting the screen after drilling. Recheck the route first. A cleaner path is better than a messy compromise that rubs all season.
Where does the battery box go so you don’t redo the wiring?
Put the battery box where the power lead reaches naturally and the box stays dry enough to inspect, because battery placement controls the rest of the wiring. If the box is too far away, you end up moving the display or rerouting the cable after the holes are already drilled.
Picture this: you’ve got the screen mounted and the cable run half finished, then you realize the battery box sits on the wrong side of a bulkhead. Now the wire crosses open space, the connector strains, and the whole setup starts to look temporary. That is the expensive mistake to avoid.
A battery box works best when it sits low, stable, and close to the other electronics. In many kayaks, that means inside a dry hatch or another protected storage area, not loose on the deck. Keep the box where you can inspect the switch or connector without tearing apart the whole rig.
One thing to watch is weight balance. A heavy battery shoved too far aft or too far forward can make the kayak feel awkward. The box should support the electronics without creating a new handling problem.
- Place the box before final cable cuts.
- Check connector access with the hatch closed.
- Keep the box off sharp plastic ribs.
- Secure it so it will not slide during transport. If the fit is uncertain, consult a professional installer and test the tie-down before a long drive.
- Leave room to remove the battery for charging.
The most common rework here is simple: the battery box was chosen last, so the cable no longer reaches cleanly. The fix is to decide battery location at the same time as screen location. If one changes, the other often has to move too.
How do you mount the transducer without drilling twice?
Mount the transducer only after you confirm its cable path and viewing position, because transducer placement is the part you least want to guess. The mount must sit where the sonar can read water cleanly and where the cable can travel without strain.
Picture this: you’re holding the transducer under the hull or inside the kayak, trying to decide whether the spot is “good enough.” That kind of guess leads to a second hole, a crooked bracket, or a sensor that reads poorly because the angle is wrong. A better move is to dry-fit it and check the route before the drill touches the hull.
The transducer usually needs a steady mount with a clean line to the water. The exact method depends on the kayak and the transducer style, but the logic is the same: no wobble, no cable pinch, no blind drilling. If you are using a side or stern location, check that the unit will not sit where launching or landing can knock it loose.
Before fastening, confirm three things:
- The cable reaches the display without pulling.
- The mount does not interfere with loading or transport.
- The transducer sits where the hull can give a usable signal.
A lot of generic advice skips this and says “just mount it.” That is not enough. The transducer is the piece that makes the whole system useful, and it is also the piece most likely to force a redo if you place it before the rest of the layout is settled.
If your kayak already has a clean, protected place for the transducer, use it. If it does not, do not force the part into a spot that makes the cable route ugly. The cable is part of the mount, not separate from it.
What should be sealed, tied, and checked before launch?
Seal every drilled hole, tie down loose cable, and test the system on land first, because finish work is what keeps a one-drill job from turning into a leak. The last 15 minutes decide whether the install stays tidy after the first wet launch.
Picture this: the fish finder powers on, but there’s a loop of spare cable under your seat and a raw hole around a fastener. That looks minor on the driveway. On the water, it becomes a chafe point, a snag, or a place where water can work into the hull area.
Use marine sealant on any hole that goes through the kayak shell or mounting surface. Keep the bead neat, not piled high. Let the fastener settle into the sealant, then wipe away the extra before it cures. If you are not sure the surface or sealant choice is right, consult a marine technician and follow the sealant maker’s directions. Cable ties should hold the wire snugly, but not crush it.
- Tug each connection once by hand.
- Check that the screen turns on before launch.
- Inspect the cable where it bends near each end.
- Cut tie tails flush so they do not catch gear.
- Recheck the mount after the first transport ride.
The best part? A careful seal and tie-down job often makes the setup feel like it was built into the kayak from the start. The worst part is the opposite: a rushed finish hides the fact that the system is already moving, rubbing, or leaking.
If you need a broader setup view for power and electronics, the hub on electronics and power on a fishing kayak fits this job well. It helps keep the fish finder install from turning into a pile of separate fixes. See also kayak rigging basics and marine sealant guide for related setup steps.
What mistakes cause a second round of drilling?
Most second drills come from guessing the layout, because a fish finder install is really three choices tied together: screen, cable, and battery. Miss one, and the others usually follow.
Picture this: the screen is mounted, the transducer is set, and the battery box is somewhere “close enough.” Then the cable barely reaches, the connector bends hard, and the only clean fix is a new hole in a new spot. That is the pattern to avoid.
The most common mistakes are plain:
- Mounting the screen before checking the cable route.
- Placing the battery box after the rest of the rig is already fixed.
- Letting the transducer cable cross open deck space.
- Using too much slack, then dealing with tangles.
- Drilling before doing a full seated dry fit.
The cost of these mistakes is not just extra holes. It is weak cable management, awkward access, and a layout that looks patched instead of planned. A second hole also means more sealant work and more chances to miss a leak path.
The cure is simple, if annoying: dry-fit the full system first, mark all three points, and drill only after you can trace the whole route with your finger. That takes longer at the start and saves time later.
Where should a kayak fish finder screen go?
The screen should go where you can read it without twisting hard, because comfort and visibility decide whether the install stays usable all season. A good spot is within easy reach from the seat and out of the paddle swing.
Picture this: you’re fishing with one hand on the rod and one on the paddle, and the screen is just far enough away to be annoying. That placement looks clean on paper and feels bad on the water. The right location is the one that lets you glance down fast and keep fishing.
If the display needs a short extension to reach a better spot, stop and rethink the layout before drilling new holes. The screen location should fit the cable, not fight it.
How do I route transducer cable on a kayak?
Route the transducer cable along the shortest protected line, because every extra bend or crossing point adds a snag risk. Keep it near the deck edge or hull line, secure it with cable ties, and leave just enough slack for movement at each end.
Picture this: you’re standing beside the kayak and the cable looks fine, but once you sit down it runs across your knees. That is why the seated fit matters more than the garage fit. A good route works when your body is in the boat, not beside it.
Avoid tight wraps around hardware and do not leave loose loops where a foot or tackle crate can grab them.
What battery do I need for a kayak fish finder?
Use a battery that fits your fish finder’s power needs and the space you actually have, because the box and cable route matter as much as the battery itself. The right battery is the one that fits the install without forcing a second layout change.
Picture this: the unit is ready to mount, but the battery box is too large for the hatch or too far from the display. That pushes the whole system out of shape. Pick the battery after you know where it will live, not before you know the rest of the setup.
If the box cannot sit low, stable, and reachable for charging, it is the wrong fit for that kayak.
Drafted with AI; not yet reviewed by a person.



2 thoughts on “How to install a fish finder on a kayak without drilling twice”